
Sound Book Module Installation: Assembly Controls for Reliable Production
How to translate an approved audio module into repeatable placement, bonding, wiring and book integration.
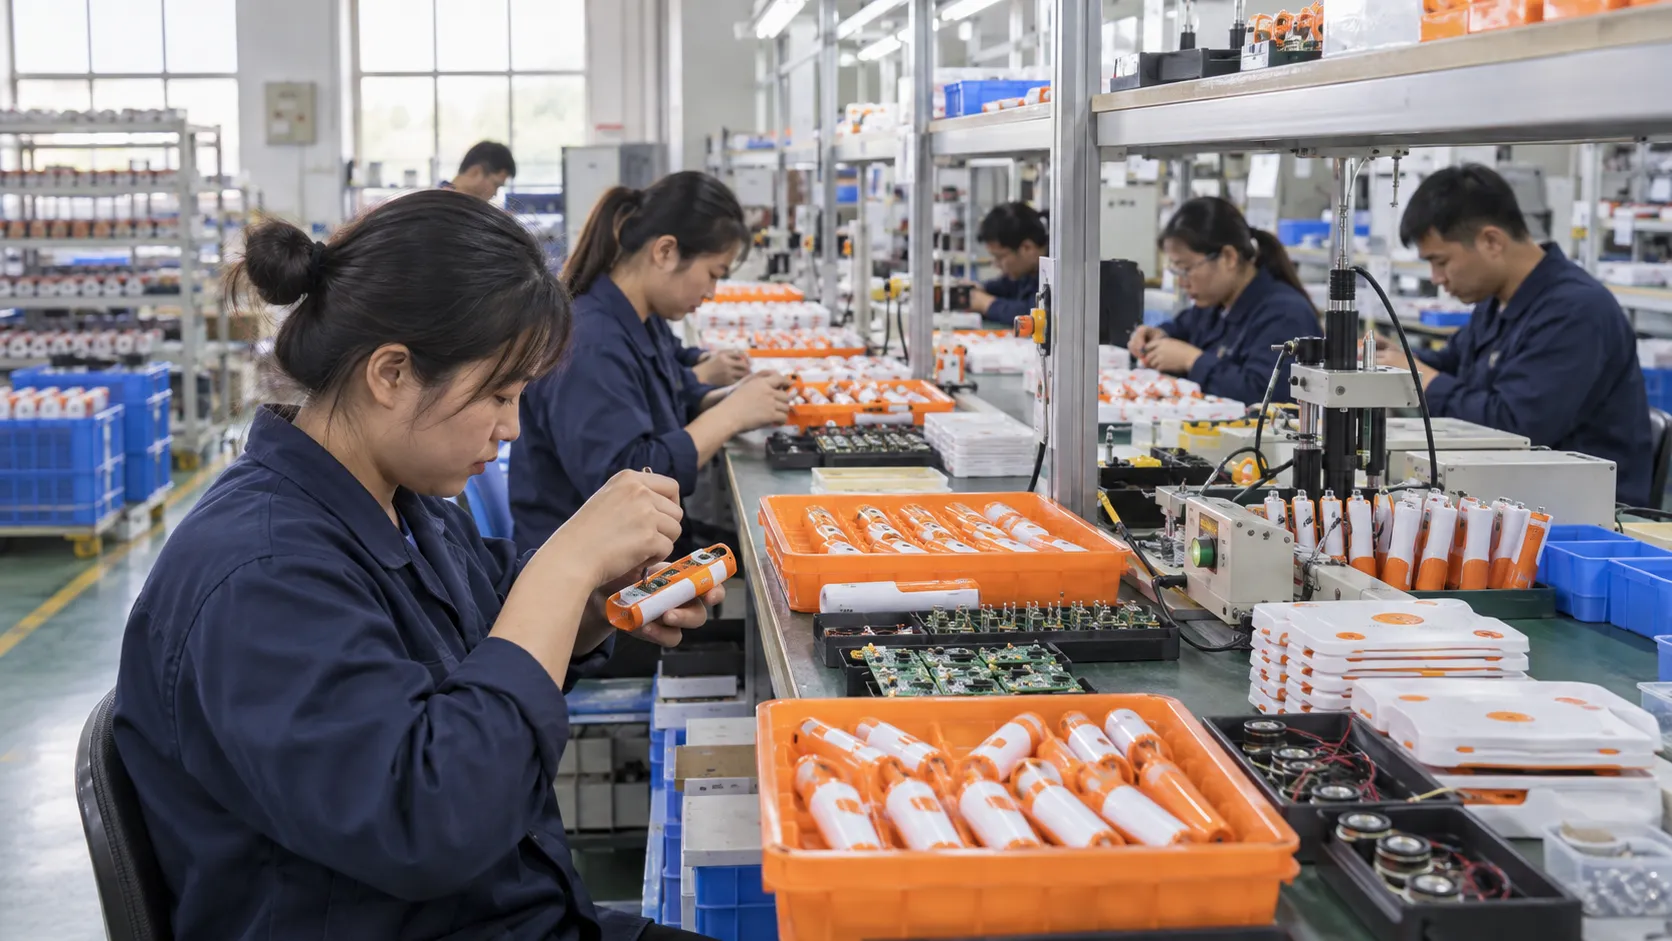
A module that works perfectly on a bench can fail after it is bonded into a book with restricted sound openings, flexing pages and compressed wiring. For a B2B buyer, the useful question is not whether a supplier can demonstrate the feature once. The question is whether the promised result can be defined, approved, reproduced during mass production and identified again when a shipment or reorder is reviewed.
This guide is intended for publishers, OEM buyers and quality teams approving sound book manufacturing. It treats sound book module installation as a connected product, manufacturing and evidence decision. The recommendations are practical starting points, not substitute legal opinions or universal numerical limits. Intended age, destination market, construction, content and sales channel must be reviewed for the actual project.
The approach reflects the work normally required between an early buyer brief and shipment release: clarify customer requirements, challenge foreseeable failure modes, build a production-intent sample, document factory testing, prepare line controls and retain enough identity information to investigate later feedback.
How are electronic modules installed reliably in sound books?
Reliable installation uses fixed mechanical datums or fixtures, controlled adhesive or fasteners, protected wire routing, clear speaker and button alignment, verified battery access and a functional test after the book is fully closed. The work instruction should define placement, bonding quantity, cure or dwell, inspection points and the response to a damaged printed part or failed module.
Approve the integration on production paperboard, print, lamination, adhesive and module housing because thickness and surface energy affect fit and bond strength. A strong decision states the starting condition, user action, expected response and acceptable evidence. Words such as “easy,” “durable,” “clear,” “safe” or “accurate” are useful goals, but they cannot release a sample until the parties agree how those goals will be observed.
The first risk review should cover module shifted away from printed buttons, speaker opening partially blocked, wire pinched during closure, and adhesive bond failing after humidity. These are not merely inspection defects. Each risk needs an owner and a control point: design prevention, supplier qualification, sample validation, production screening, shipment inspection or post-market traceability.
1. Turn the buyer request into an approval brief
Define book dimensions, page stack, module envelope, speaker opening, button panel, battery door, wire lengths, adhesives, assembly sequence, cure time and repair policy. Begin with the intended child, supervising adult, learning activity, environment and market claim. Then describe the sellable set: product, content, accessories, power items, instructions, packaging and language. A factory cannot quote one stable configuration when these boundaries remain implicit.
Separate mandatory requirements from preferences and future ideas. A mandatory point affects acceptance of the current order. A preference may be optimized during sampling. A future idea belongs in the architecture discussion but should not silently increase current cost, memory, tooling or schedule.
Record who supplies artwork, audio, translations, test samples, compliance decisions and final approvals. Also record quantity, SKU count, target Incoterm, destination, launch window and the date at which files become final. These commercial facts influence the technical route and should be visible before the purchase order.
2. Review the decisions that control the user experience
The module housing, printed recess, speaker port, membrane or buttons, wires, battery compartment, adhesive and book binding compete for limited space and structural support. Review the interfaces between mechanical parts, electronics, firmware or content, printed material and packaging. Many field problems occur at an interface even though every individual component passed its own incoming check.
Ask the supplier to distinguish an existing proven platform from configurable work and genuinely new engineering. An existing mold does not prove a new button map, content package, sensor target, battery arrangement or package set. Changed functions deserve a proportionate validation plan.
Choose stable assembly references
Locate the module from cut edges, molded features or a dedicated fixture rather than from variable printed graphics.
For sample approval, connect this decision to “Module position controlled from stable datums” and retain module integration drawing. Challenge the difficult case associated with module shifted away from printed buttons instead of recording only a successful ideal demonstration.
Control bonding and dwell
Match adhesive to coated paperboard and module resin, define surface preparation, application pattern, pressure and time before downstream handling.
For sample approval, connect this decision to “Adhesive type, pattern and amount approved” and retain approved adhesive and application standard. Challenge the difficult case associated with speaker opening partially blocked instead of recording only a successful ideal demonstration.
Design service and failure handling
Decide whether failed modules can be reworked without damaging the book and how repaired units are identified and retested.
For sample approval, connect this decision to “Wires protected from pinch and movement” and retain placement fixture and first-off record. Challenge the difficult case associated with wire pinched during closure instead of recording only a successful ideal demonstration.
3. Convert likely failures into measurable checks
Failure analysis should describe what the user observes, the probable mechanisms and where evidence can separate them. “Does not work” is too broad for corrective action. A useful report identifies the unit and lot, starting state, repeated action, observed output, environment, media or accessory used, and whether the issue follows the product or the test condition.
Prioritize failures by consequence, probability and detectability. A rare cosmetic variation and a less visible loss of a safety-related function should not be managed with the same sampling rule. For children’s electronic products, also consider predictable misuse, repeated operation, low-battery behavior, partial assembly, wrong content or SKU, and changes introduced by packaging or transport.
Do not confuse a specification with a test method. The specification describes the acceptable outcome; the method explains how evidence is produced. Keeping them separate allows an equivalent or improved method to be reviewed without silently changing the product requirement.
| Decision area | Acceptance question | Evidence to retain |
|---|---|---|
| Choose stable assembly references | Module position controlled from stable datums | module integration drawing |
| Control bonding and dwell | Adhesive type, pattern and amount approved | approved adhesive and application standard |
| Design service and failure handling | Wires protected from pinch and movement | placement fixture and first-off record |
4. Validate the production-intent sample before mass materials
Build a small pilot with real coated paperboard and production assembly methods. Section selected samples or open them destructively to confirm hidden adhesive and wire conditions. Use an early engineering build to answer the highest-risk unknowns, even if color or packaging is temporary. Mark temporary components and simulated behavior clearly. A beautiful sample can still be technically provisional, while an unfinished engineering unit can provide valuable evidence about the architecture.
The integrated approval sample should use production-intent critical parts, files, artwork, content and interaction logic. Review it against a dated checklist. Every failed item needs a clear symptom, owner and disposition; the next build should identify which corrections were implemented and which dependent checks were repeated.
A golden sample is a configuration reference, not a substitute for drawings, bills of material or files. Identify model and SKU, hardware revision, firmware or content release, artwork and packaging revision, accessories and approved deviations. Store photographs and test records with the sample so future reviewers understand what it represents.
Test the fully assembled book after curing and conditioning. Bench module checks do not reveal blocked sound paths, button misalignment or closure damage. The core program should include Measure module position from defined datums, Verify adhesive coverage and cured bond, Inspect wire routing before closure, and Check speaker output through final openings. Define conditioning, repetitions, sample quantity and pass criteria according to project risk. If a numeric limit is required, derive it from the intended use and applicable requirements rather than copying an unrelated competitor specification.
- Measure module position from defined datums
- Verify adhesive coverage and cured bond
- Inspect wire routing before closure
- Check speaker output through final openings
- Map all buttons and battery access
- Condition, flex and drop representative finished books
5. Translate approval evidence into factory controls
Use kitted components, placement fixtures, visual standards and first-off approval. Control work-in-process time when adhesive cure or printed material conditioning affects the result. A factory control plan should make module and book SKU kitting, fixture-based placement, adhesive application and shelf-life control, and pre-close wire and connector inspection visible to purchasing, assembly and quality teams. The approved result must survive incoming inspection, first-off setup, in-process handling, final functional checks and pack-out.
Use controlled work instructions and verified fixtures. Where a result depends on reference files, test media, firmware or threshold settings, identify their versions at the station. A drifting fixture or obsolete file can consistently approve the wrong output, so challenge the system with a known reference and retain the result.
Line screening and shipment inspection serve different purposes. Screening finds assembly or programming errors efficiently. Shipment inspection samples the completed lot across cartons, production periods and pallet positions. It should confirm product identity, critical functions, appearance, accessories, labels, language and packaging as one sellable configuration.
When a defect appears, contain related material by lot and production time, reproduce the symptom, identify the mechanism and verify the correction. Reworking the visible defect without finding its source may release the same problem again in the next carton or reorder.
- module and book SKU kitting
- fixture-based placement
- adhesive application and shelf-life control
- pre-close wire and connector inspection
- post-close full functional test
- sampled destructive assembly audit
6. Ask suppliers for evidence, not broad assurances
Ask to see the actual integration station, first-off record and opened audit sample. Finished appearance alone cannot verify hidden routing and bond quality. A capable supplier can explain assumptions, limits, open risks and the next verification step. “No problem” is not evidence. Ask for the build version, sample quantity, fixture or method, outcome, failure disposition and record owner behind each important claim.
Compare quotations using the same sellable set and responsibility matrix. Engineering, tooling, samples, content work, printing, packaging, laboratory assessment, fixtures, inspection and delivery terms may be included differently. Unit prices are not comparable when the underlying scope is different.
Schedule approval work explicitly. Separate buyer review time, supplier engineering, correction cycles, component purchasing, print production, laboratory lead time, pilot build, shipment inspection and booking. This makes the true critical path visible and prevents a quoted production lead time from hiding unresolved pre-production work.
| Commercial decision | Confirm in writing | Risk if omitted |
|---|---|---|
| Integration design | Recesses, ports, datums and fixture | Late tooling or print changes |
| Bonding | Adhesive, application and cure | Delamination or slow cycle |
| Test/rework | Finished-book coverage and policy | Hidden defects or high scrap |
7. Protect the shipment and the next reorder
Retain fixtures, placement standards, adhesive lot and expiry records, pilot samples and destructive audit results. Review printer, coating, adhesive and module changes together. The release index should make module integration drawing, approved adhesive and application standard, placement fixture and first-off record, and wire-routing visual standard easy to retrieve. Purchasing, engineering, quality and a third-party inspector should reach the same approved identity without reconstructing a decision from scattered messages.
For shipment inspection, select a representative sample from finished cartons and verify critical functions in the final packed condition. Include set completeness, correct language and SKU, label information and barcode readability where relevant. Record actual findings and photographs rather than only a pass statement.
Before a reorder, compare the current suppliers, bill of material, drawings, tooling status, firmware or content, artwork, labels, test methods and destination-market assumptions with the archived release. Any substitution needs an impact assessment, approval owner and proportionate revalidation before it enters production.
Customer feedback should capture product identity, lot or traceability mark, market, use condition and reproducible symptom. Compare reports with retained samples and production records. Avoid claiming a root cause before evidence supports it, and avoid dismissing a low-frequency report when its consequence warrants investigation.
Minimum shipment-release pack
Keep the approved sample index, controlled specification, current files, critical component identities, line-test summary, inspection result and accepted deviations together. Define how long records and retained samples will be kept according to the buyer’s legal and commercial needs.
A deviation must state what differs, the affected quantity, evidence reviewed, approver and whether the permission is limited to one lot. Otherwise a temporary concession can become an uncontrolled permanent specification.
Change triggers
Review changes to materials, component supplier, manufacturing site, tooling, software, audio, translation, print process, coating, battery, package, warning, age claim or target market. Not every change requires every test, but each requires a documented impact decision.
Visible appearance may remain identical while electronic or content performance changes. That is why an approved photo alone cannot control a children’s learning product across repeated orders.
8. Use a practical buyer action plan
Add a photographed pre-close inspection point to the production plan so wire routing and adhesive are documented before they become hidden. Create a four-column tracker: requirement, current decision, evidence still needed and responsible owner. Review it at quotation, engineering sample, integrated sample, pilot build and shipment release. Unresolved items should remain visible instead of disappearing into general meeting notes.
Send suppliers the difficult use case, not only the feature list. Ask them to show how the product behaves at boundary conditions and how the factory will distinguish a correct unit from a plausible-looking failure. This produces more useful technical discussion and more comparable quotations.
Before placing the production order, reconcile the quotation, purchase specification, approved sample, bill of material, file manifest, package list, inspection plan and compliance responsibility matrix. Together they should describe one buildable and saleable configuration.
Frequently asked questions
Can double-sided tape mount a sound module?
It may be suitable if the exact tape, surfaces, load, conditioning and life are validated. Generic tape descriptions are not enough.
Should module placement follow printed artwork?
Use stable cut or structural datums. Print registration can vary and should be separately controlled relative to the active area.
Why test after closing the book?
Closure can shift parts, pinch wires, block the speaker or change button force, so the finished condition is essential.
Can a failed module be reworked?
Only with an approved method that avoids hidden damage and includes complete retesting and identification.
What is a destructive assembly audit?
Selected finished books are opened or sectioned to inspect hidden bond coverage, routing and placement that normal final inspection cannot see.
What should shipment inspection verify?
Check complete function, speaker output, buttons, battery access, binding, visible placement effects and package identity.
Conclusion
Sound book assembly quality depends on controlling hidden integration details. Fixtures, bonding standards, pre-close inspection and finished-book tests carry a working module into a reliable retail product.
A defensible sound book module installation decision connects real customer requirements with production-intent validation, factory controls, shipment evidence and reorder traceability. Share the intended user, product set, languages, target markets, expected quantity and launch timing for a focused OEM review.
Authoritative references
Requirements change and differ by product. Use the current official source and qualified professional advice for the final project.